I don’t claim to be an expert on gift wrapping but, I do a fairly good job at it. Apparently, not everyone can say the same. So, here’s my instructions for wrapping a standard size box.
Roll It Out
Roll out your wrapping paper out on a flat surface. The paper should be facing down. Don’t worry about cutting the right size, that will come later in the process. For now, just unroll enough paper to place your gift box on.
Place the Box
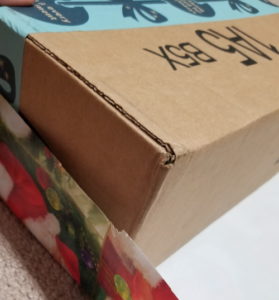
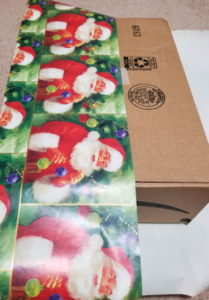
Place your gift box on the paper. Place the box face down. Now is when you determine which way to place the gift box and where to make the initial cuts to the wrapping paper. If the wrapping paper will need to wrap all the away around the box and it will also need to wrap around the sides. Ideally, you want the seam of the finished wrapping job to run long ways down the back of the box. So, cut the paper so that it wraps all the way around the box with about and inch of overlap. It should also be long enough on the ends so that the paper is slightly longer than half the box’s thickness. Don’t be afraid to cut the paper more than once, if needed.
Line up the Seam
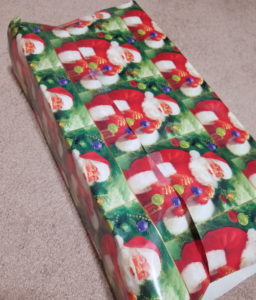
Now it’s time to start the wrapping process. Fold the paper over the box so that it reaches slightly past half way across the box. Remember, this is the long-ways seam. Use a small piece of tape to hold the paper in place.
Now, wrap the other end of the paper over the other side of the box. The second half should slightly overlap with the first half. Place a few small pieces of tape on the seam to hold the paper down. If you paper has pictures, you’ll probably see the overlap but, don’t worry about it. This is the back of the box so, it doesn’t matter if the overlap messes up the paper design.
Wrap the Ends
Now is the hard part that usually causes the problems: wrapping the ends.
Pick one end. Doesn’t matter which one. On one side, fold the paper over the side, flat against the box. This should cause the paper to fold into triangles on the top and bottom corners. Flatten the folds to make a nice crisp fold. Repeat on the other side of this end. This should result in even flaps on the top and bottom.
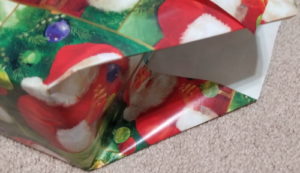
Now, fold the top flap down. It should reach slightly past half way down the box side. You should see a little bit of your box still exposed on the side. This will be covered later. If the flap reaches farther down, feel free to fold or cut the flap. You don’t want it to reach beyond the bottom edge of the box.
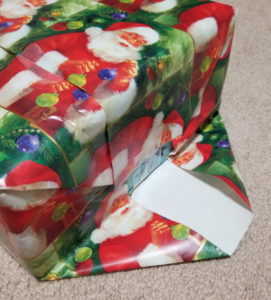
Now, fold the bottom flap up and tap it into place. Ideally, this flap should reach just below the top edge of the box and cover any exposed areas of the box. If it is too long, you can fold it over the edge, fold it under itself or trim it down. Remember that you are wrapping the gift box upside down so, if you wrap it over the edge, it will be on the bottom once you are down.
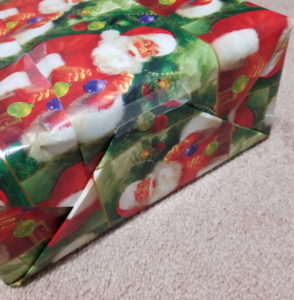
Now, just repeat for the other end and you are down wrapping. Flip the box over, add a bow or name tag and you are done!
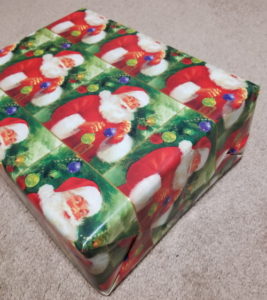
See? Gift wrapping a box is so easy, even an Uncle can do it!